Getting Started
Your first CI run tracked in 5 minutes
Four steps. No YAML changes. No code instrumentation. Just connect your GitHub org and EmitCI tracks every run automatically.
Sign up with GitHub
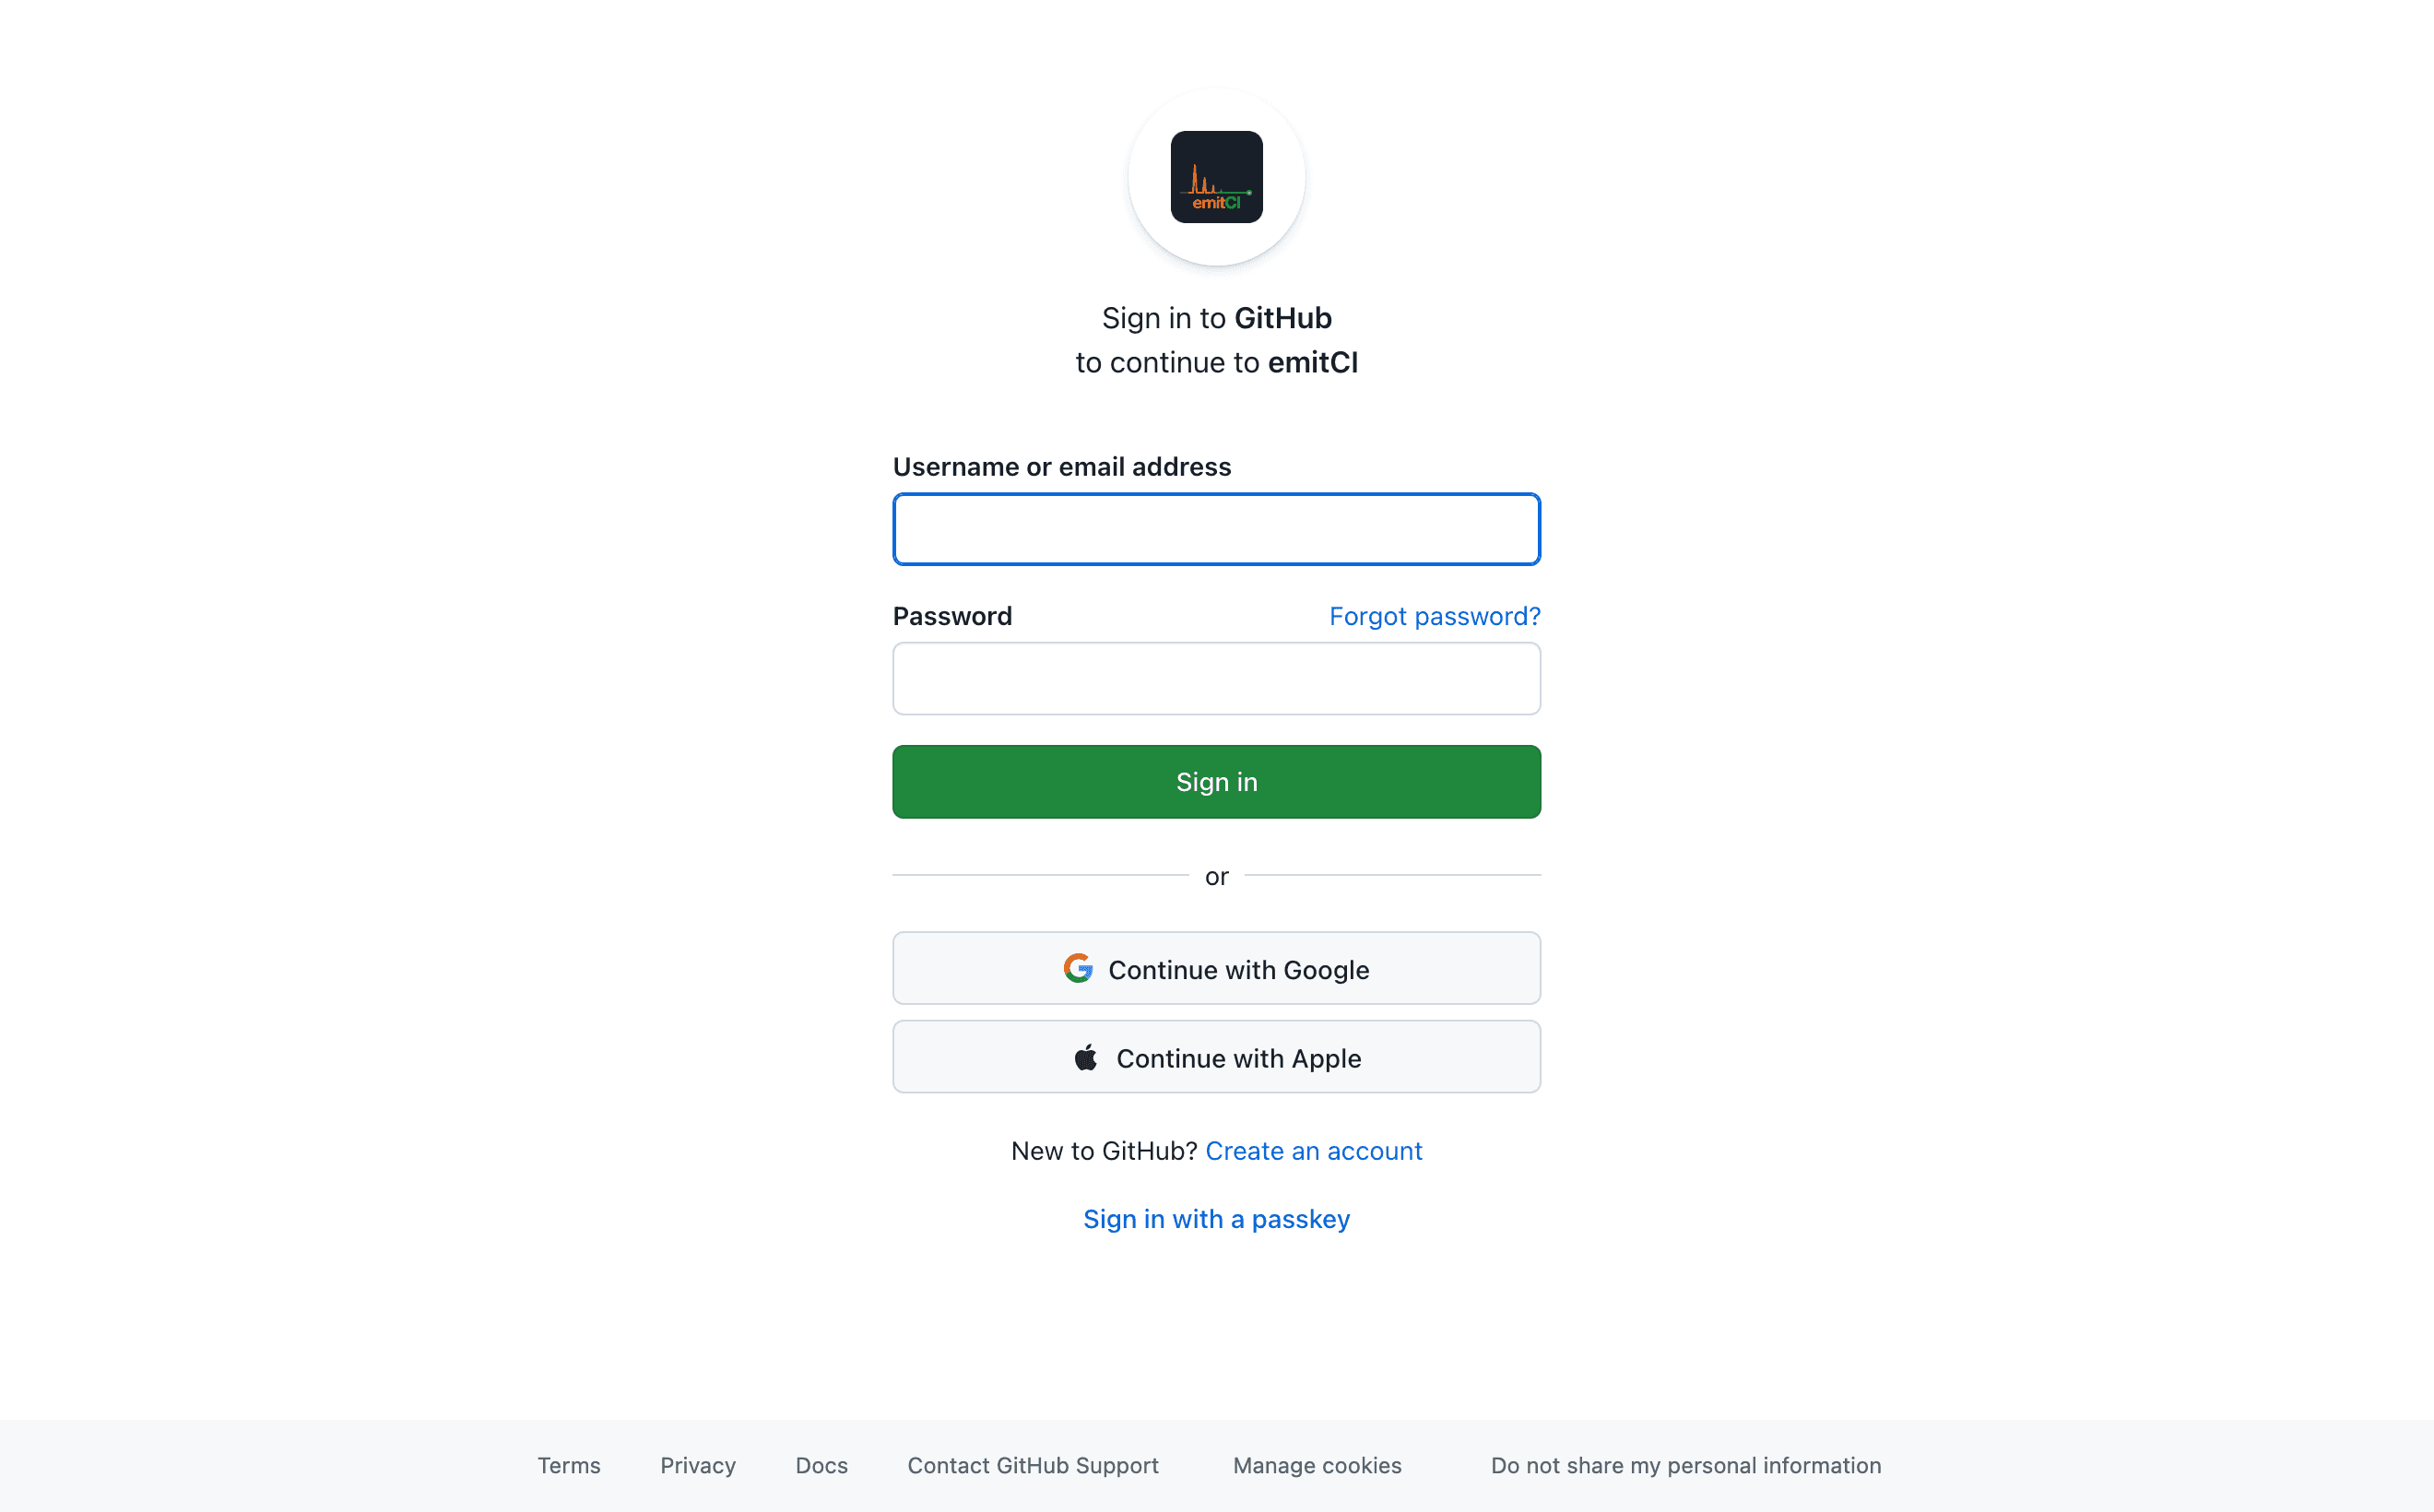
Go to app.emitci.com and click Continue with GitHub. EmitCI uses GitHub OAuth — no separate password or account creation needed.
Tip
You'll land on the onboarding page after your first login. The next step happens there.
Install the GitHub App
On the onboarding screen, click Install GitHub App. GitHub redirects you to a permissions screen where you:
- 1Select the GitHub organisation to install EmitCI on
- 2Choose which repositories to grant access to (All repos or specific ones)
- 3Click Install & Authorize
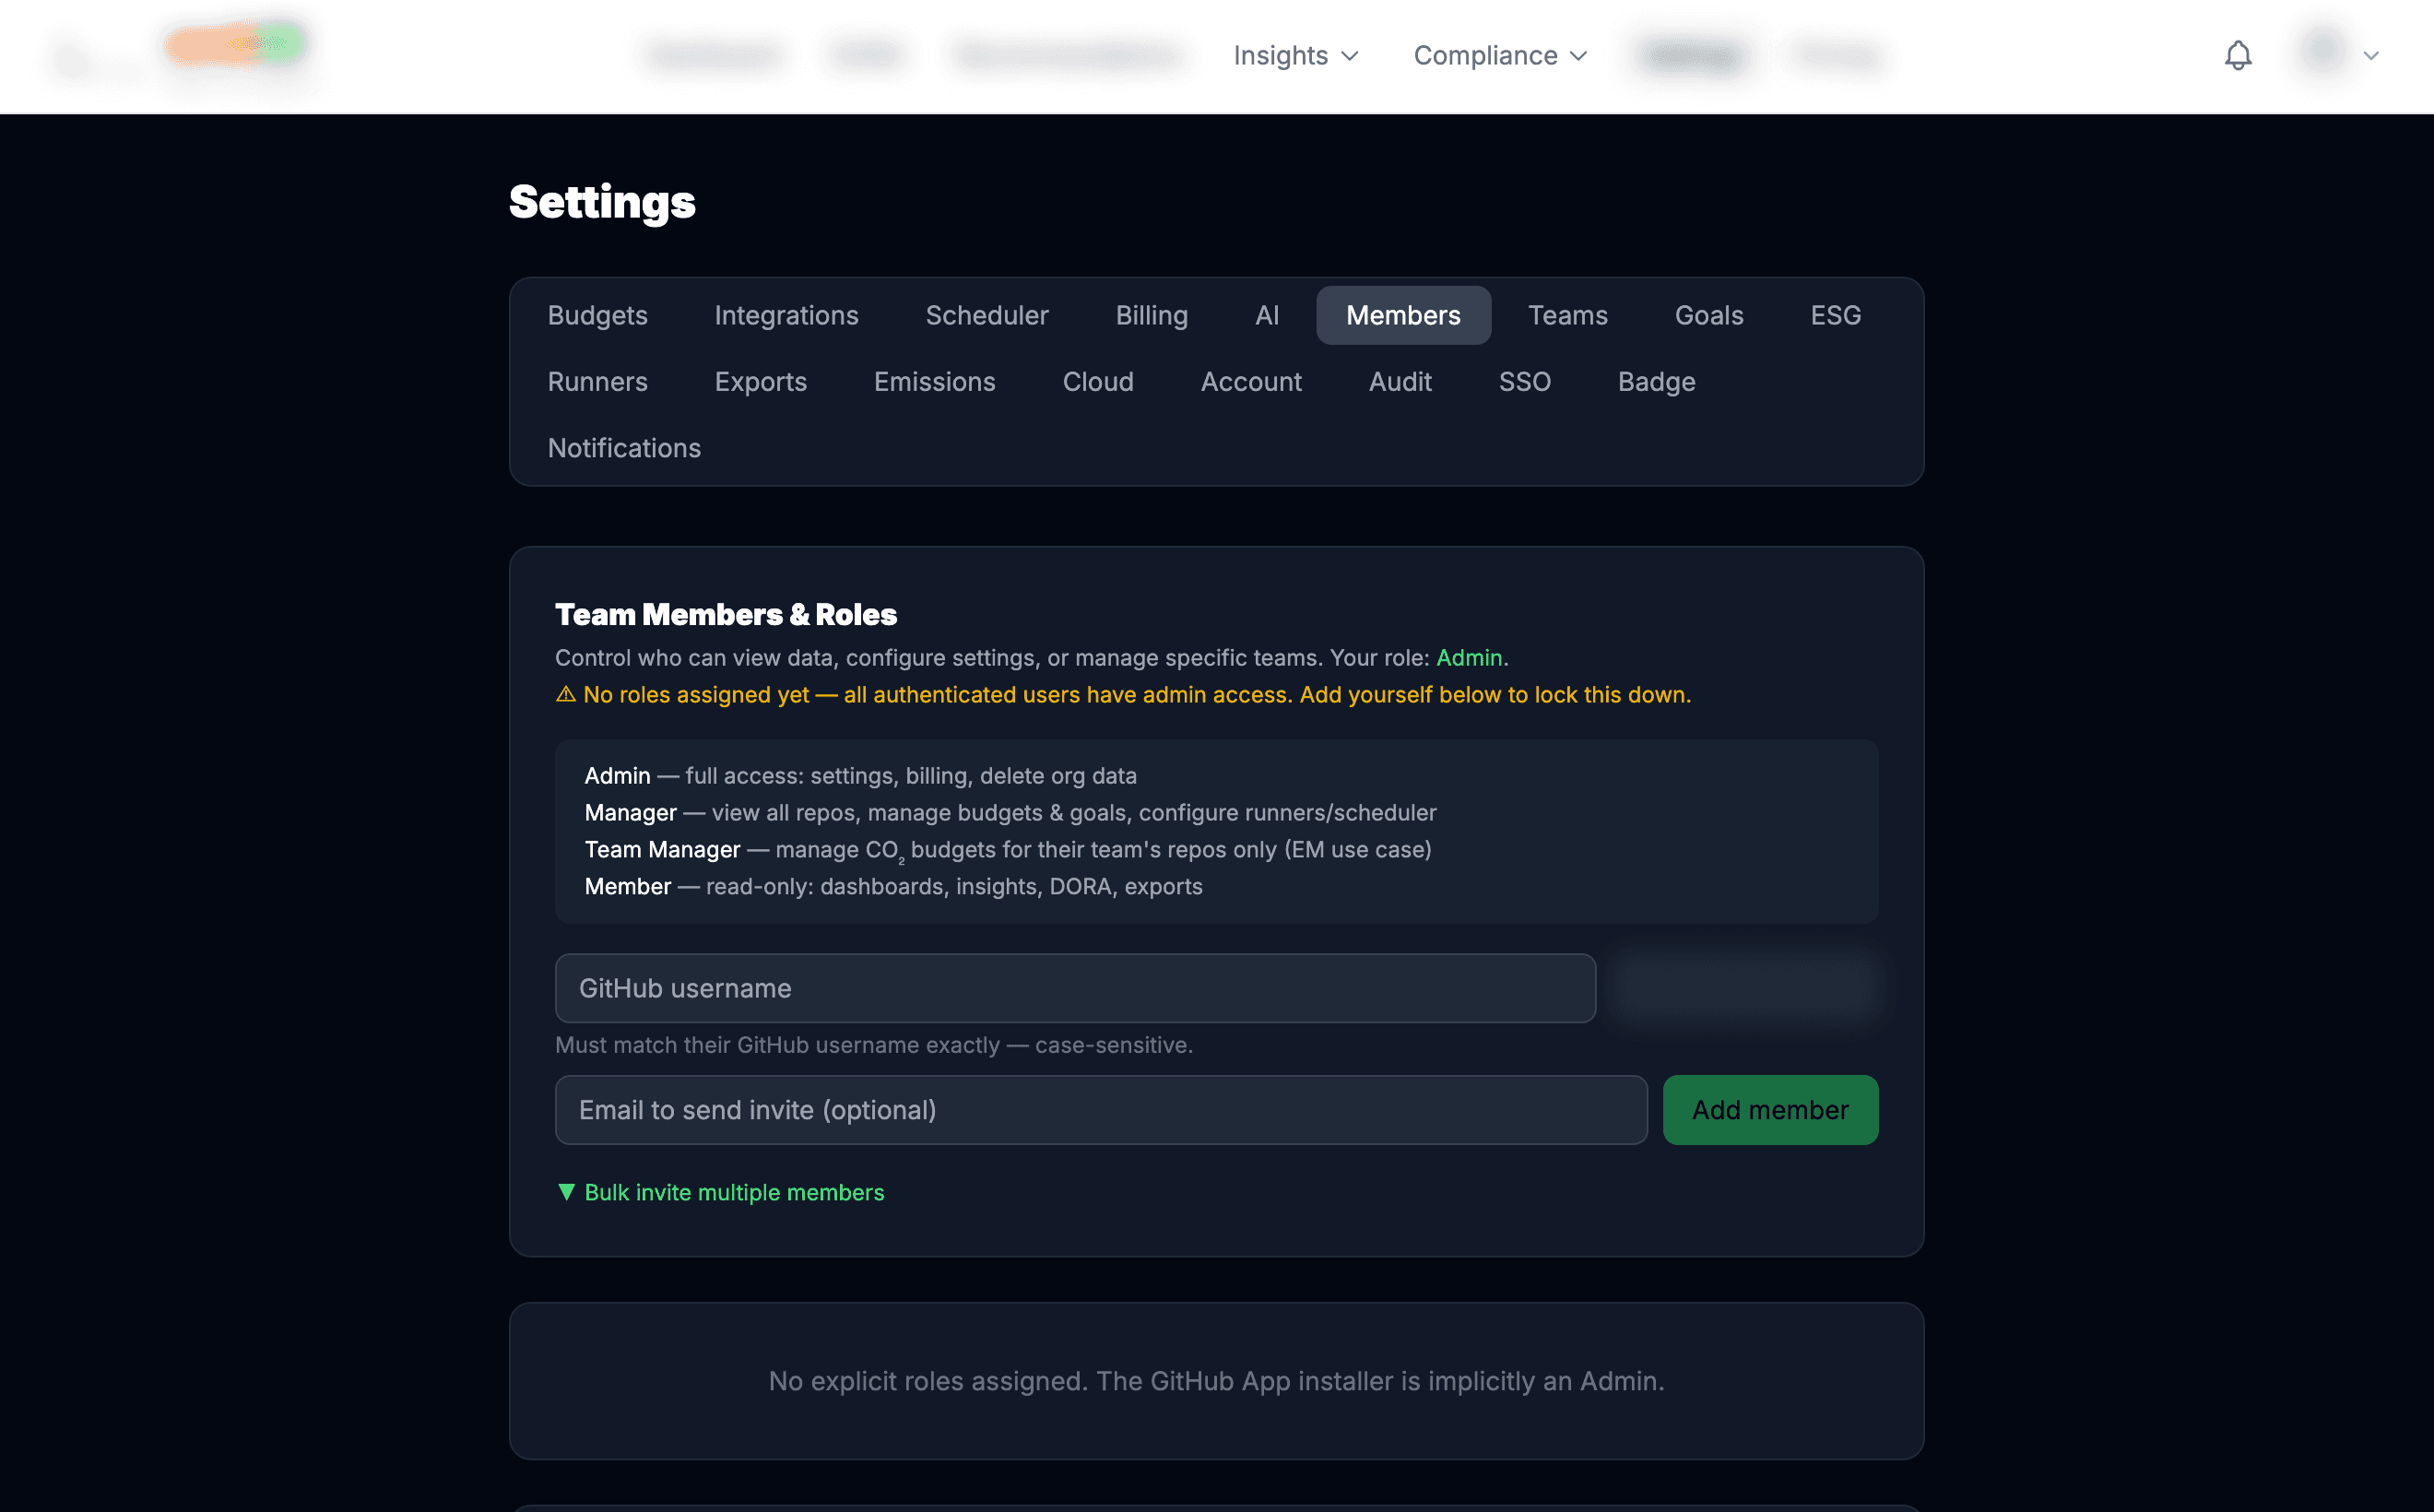
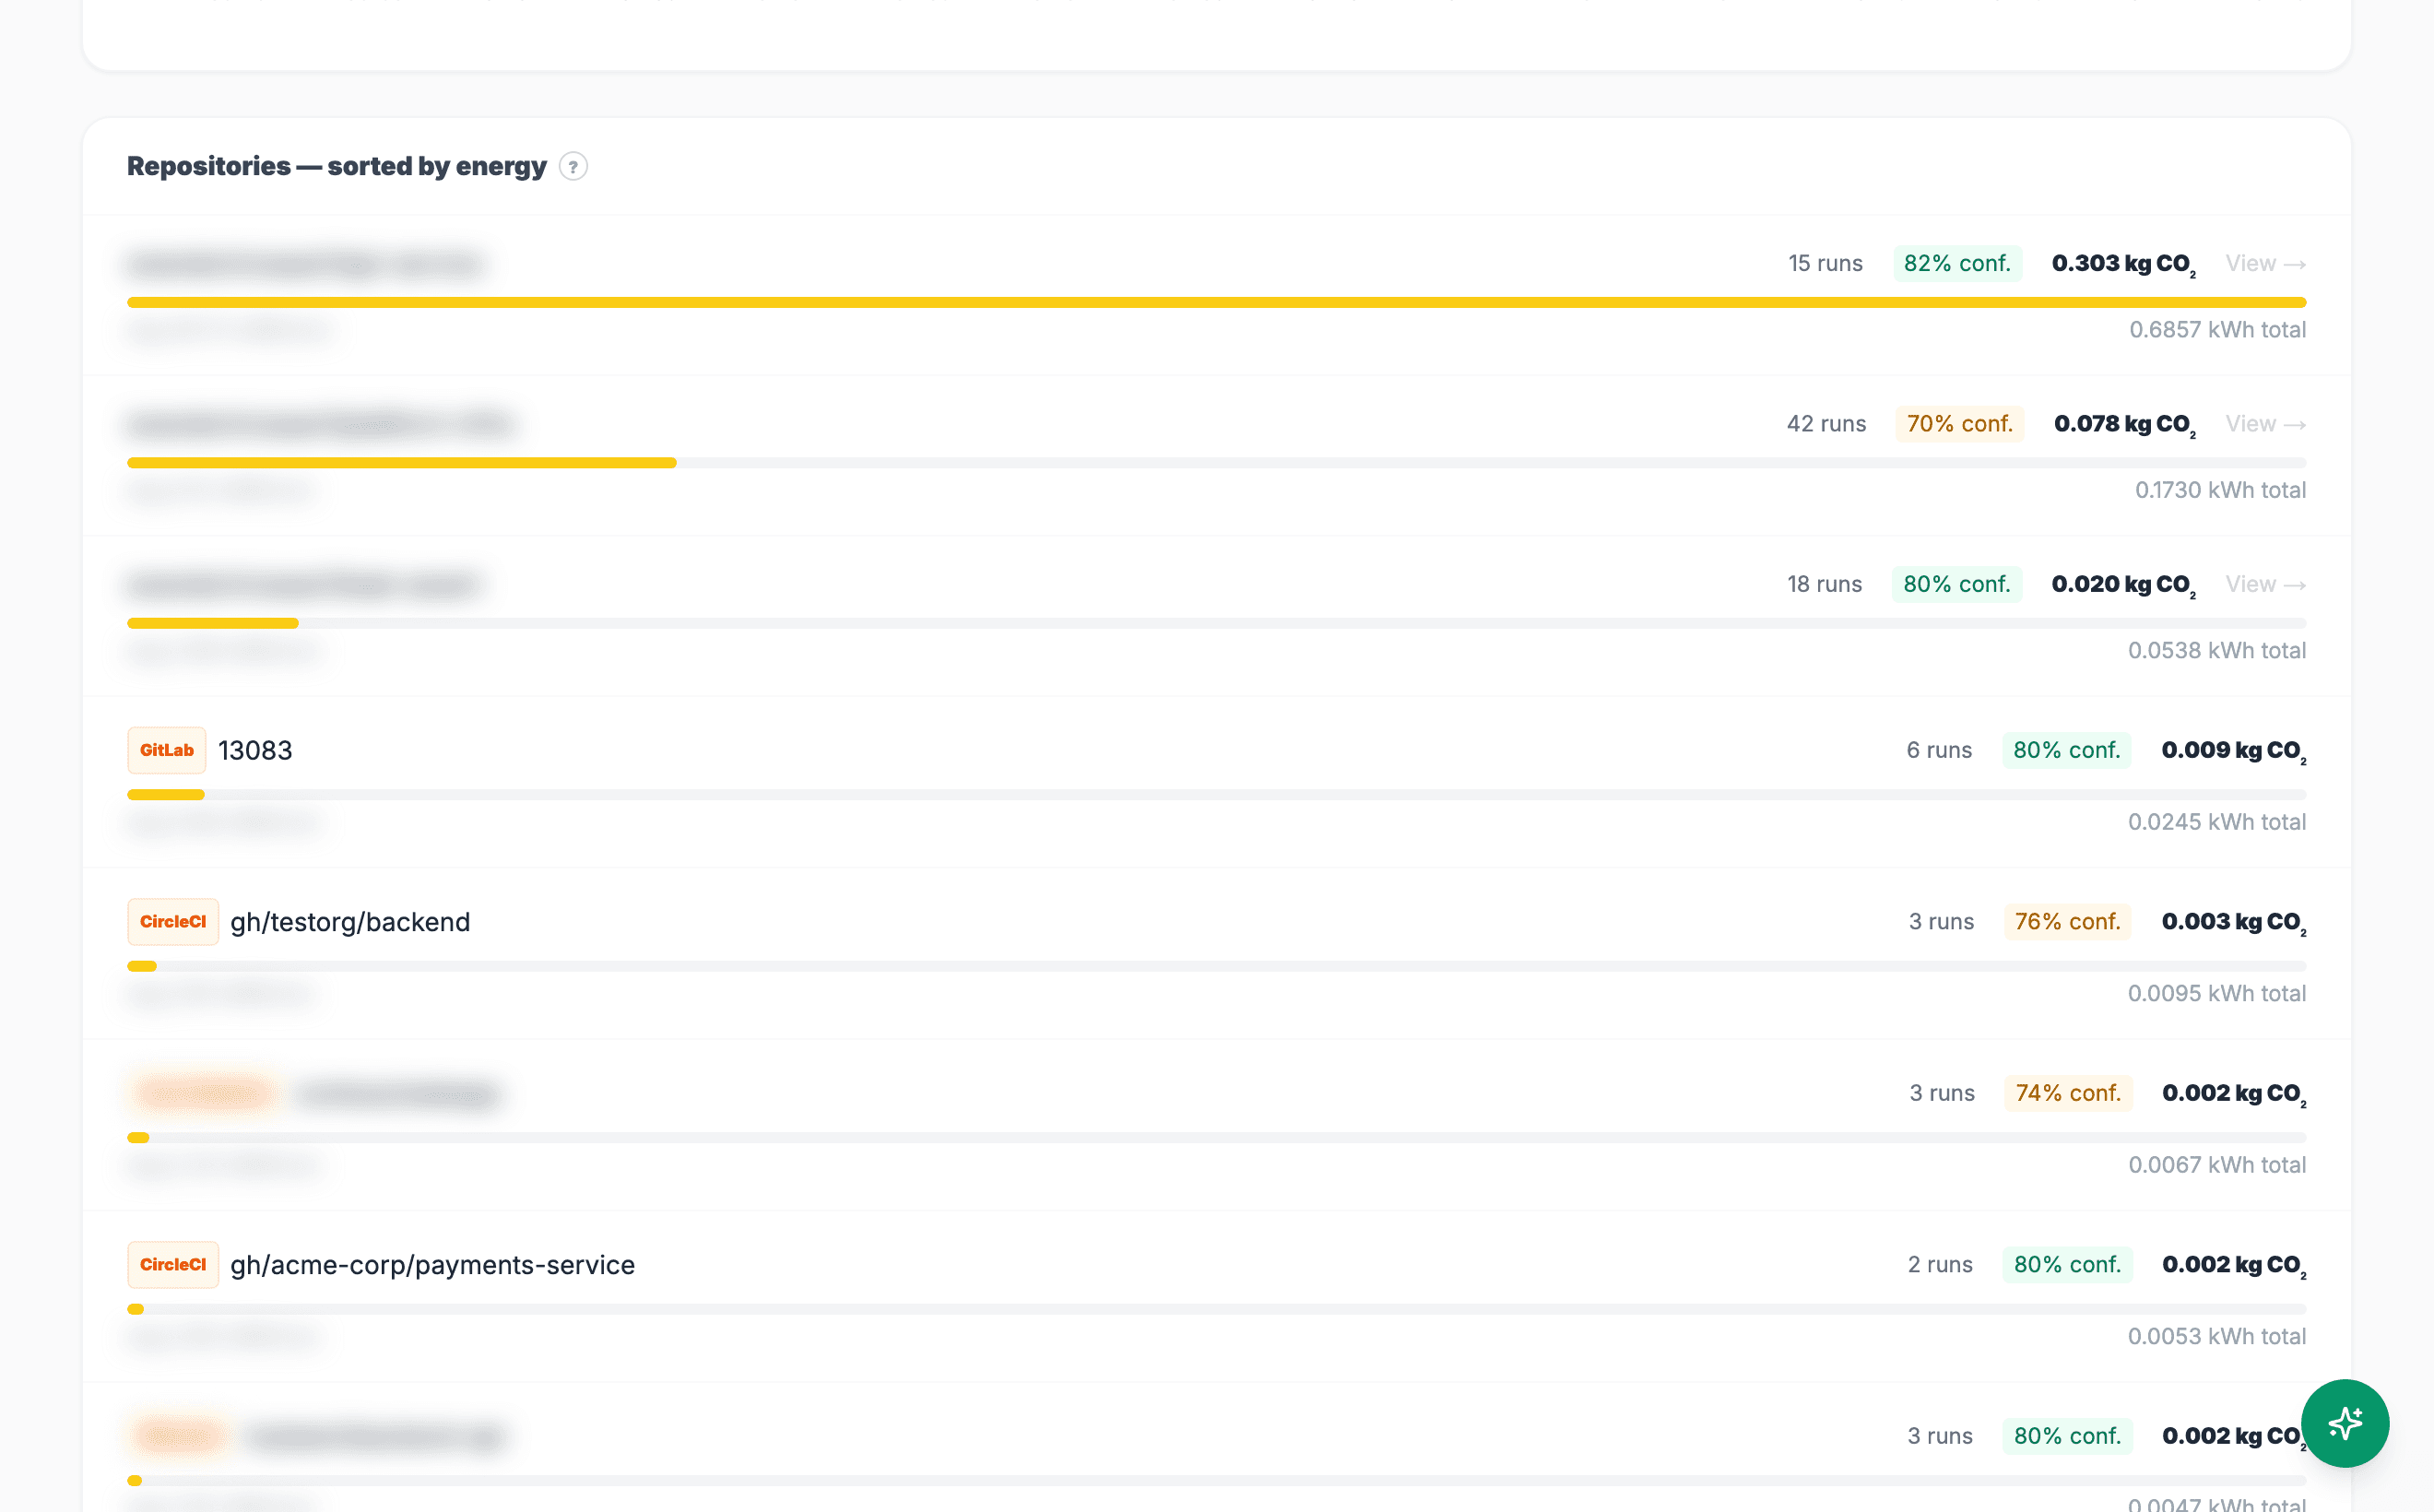
After installing, GitHub redirects you back to EmitCI. Your repositories immediately appear on the dashboard — no further setup needed.
Tip
You must be an Owner of the GitHub organisation to install the app. If you're not, ask an owner to install it — you'll be added automatically.
Trigger any GitHub Actions workflow
EmitCI listens for GitHub webhook events automatically — there's nothing to configure. Just run a workflow the way you normally would:
EmitCI receives a webhook from GitHub the moment the workflow completes and starts processing immediately.
See your carbon data
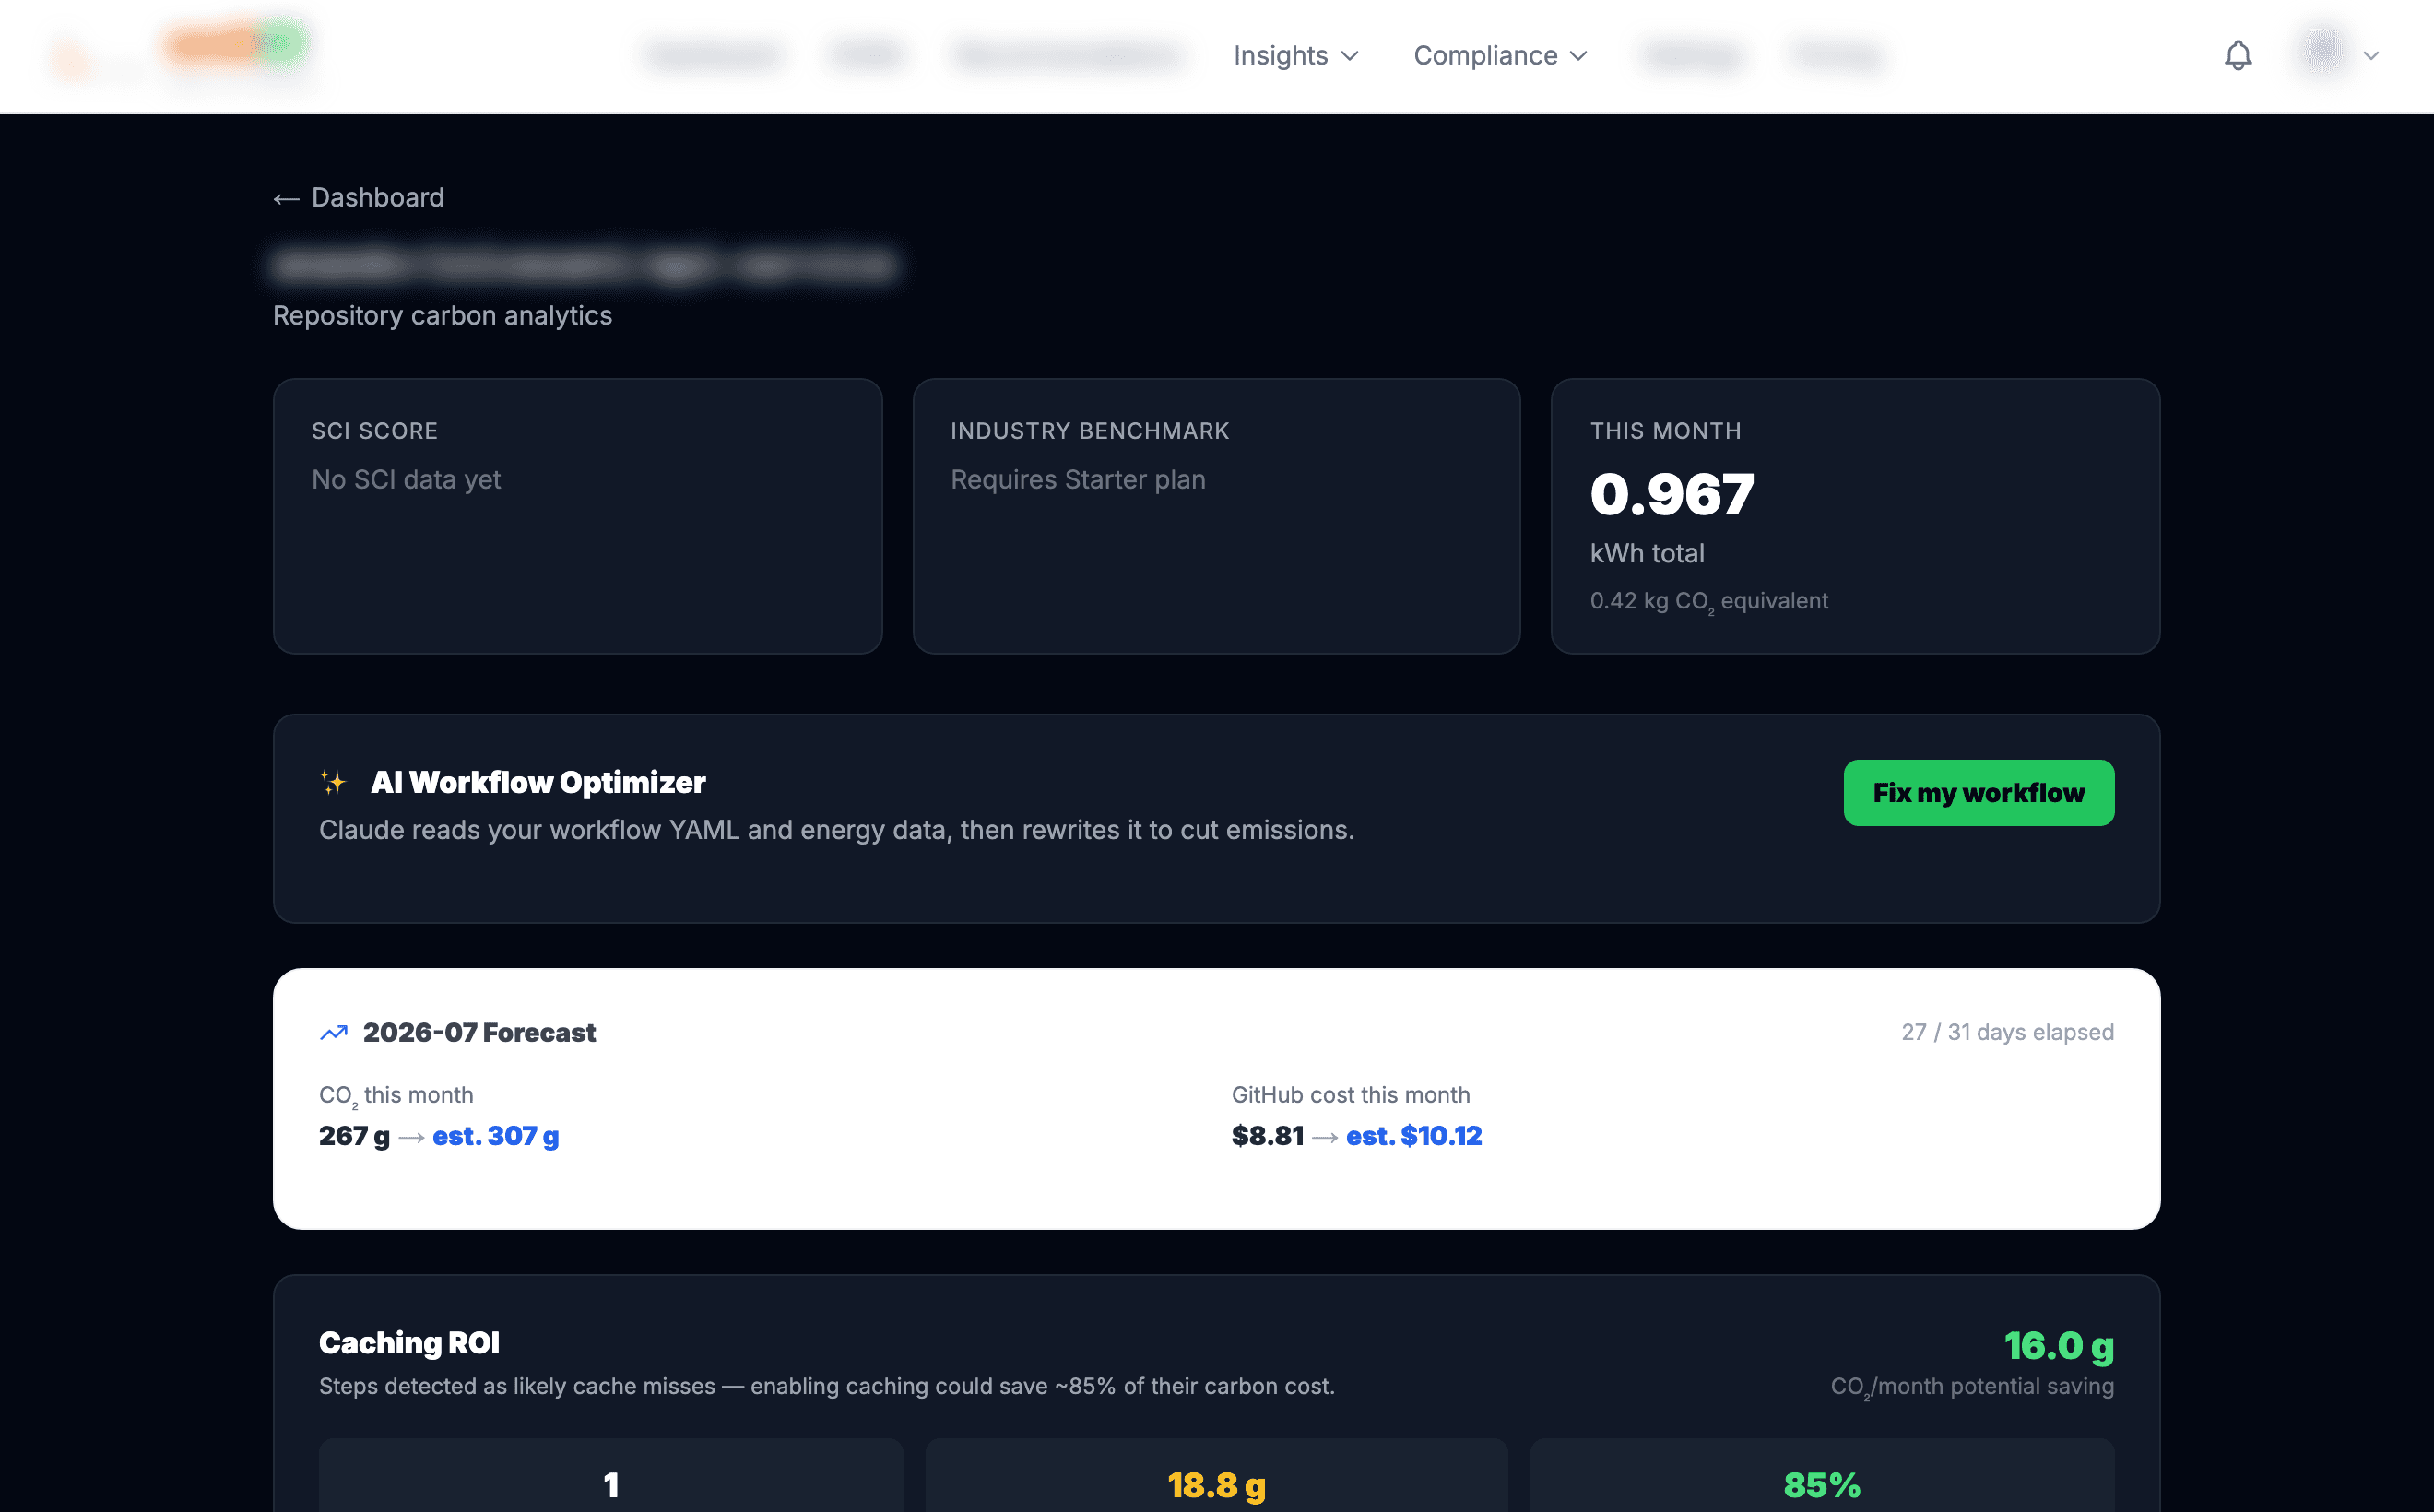
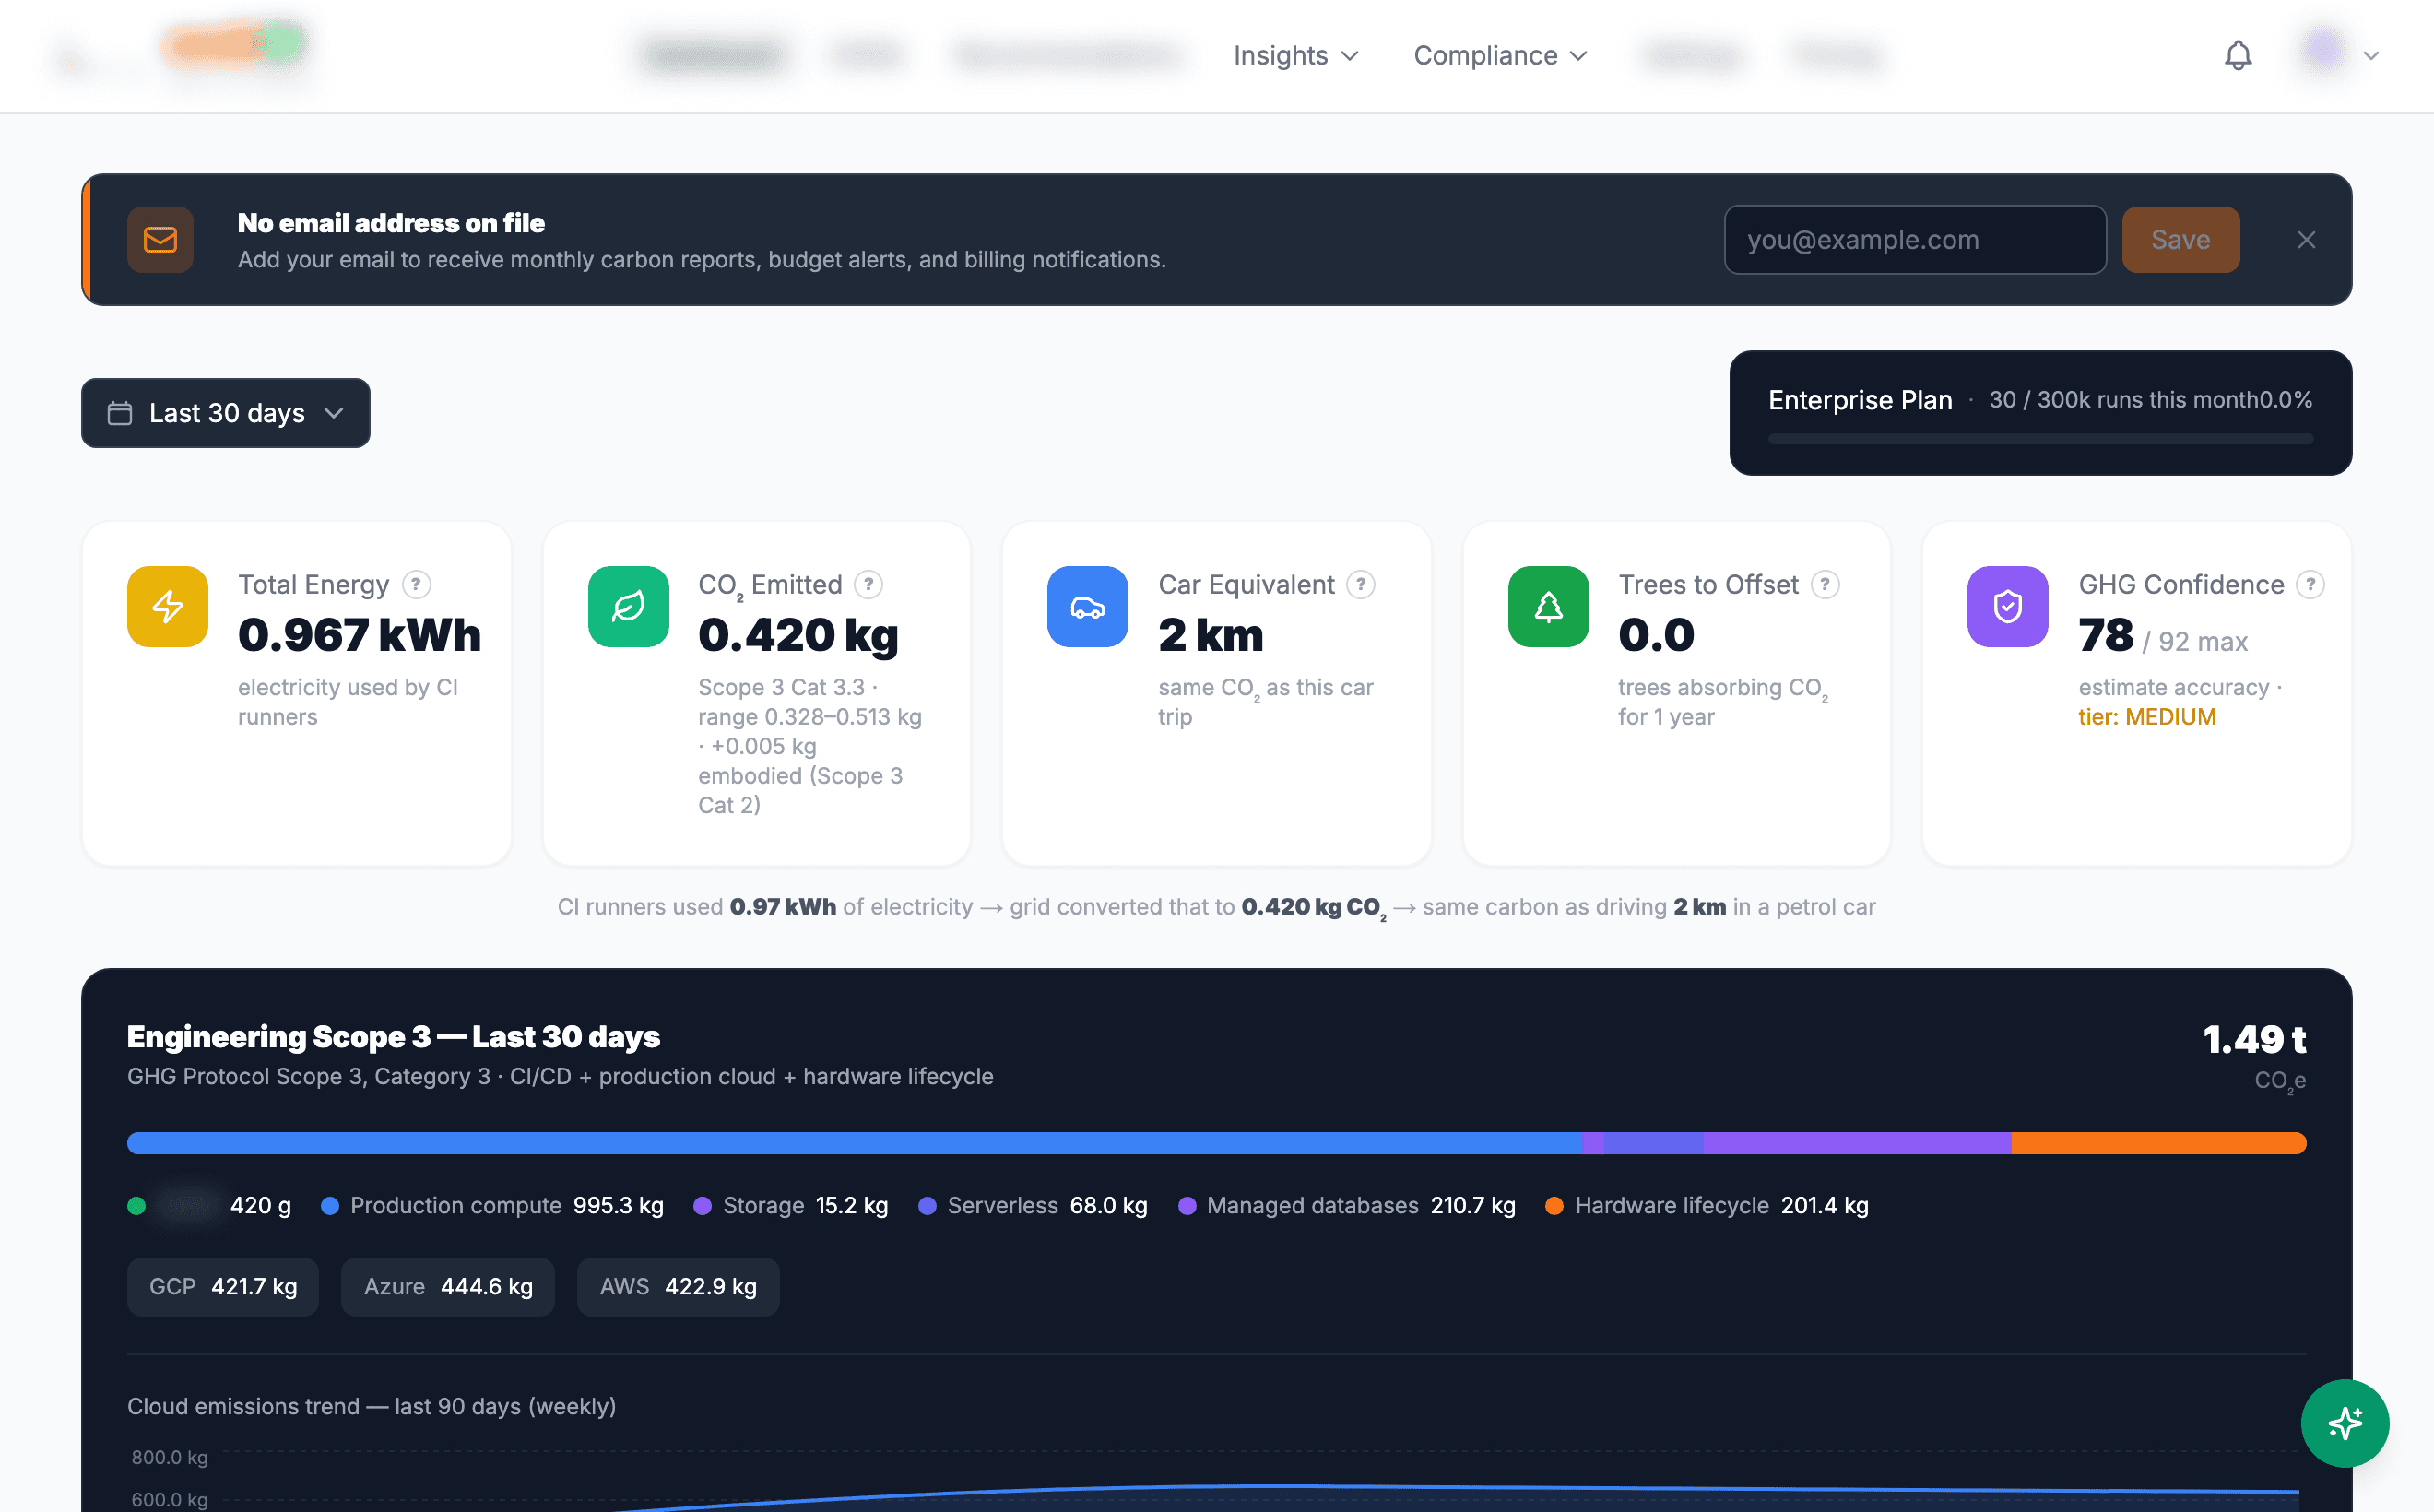
Within 30 seconds of your workflow completing, your dashboard shows:
CO₂ emitted
grams per run, per job, per step
Energy used
kWh calculated from runner hardware + region
Compute cost
estimated cost of the runner time
Recommendations
ranked actions to cut carbon and cost
Setup complete
Every CI run from here is tracked automatically. No further setup needed for the core product.
Go to dashboard →Optional — recommended next steps
These aren't required, but they make EmitCI significantly more useful.
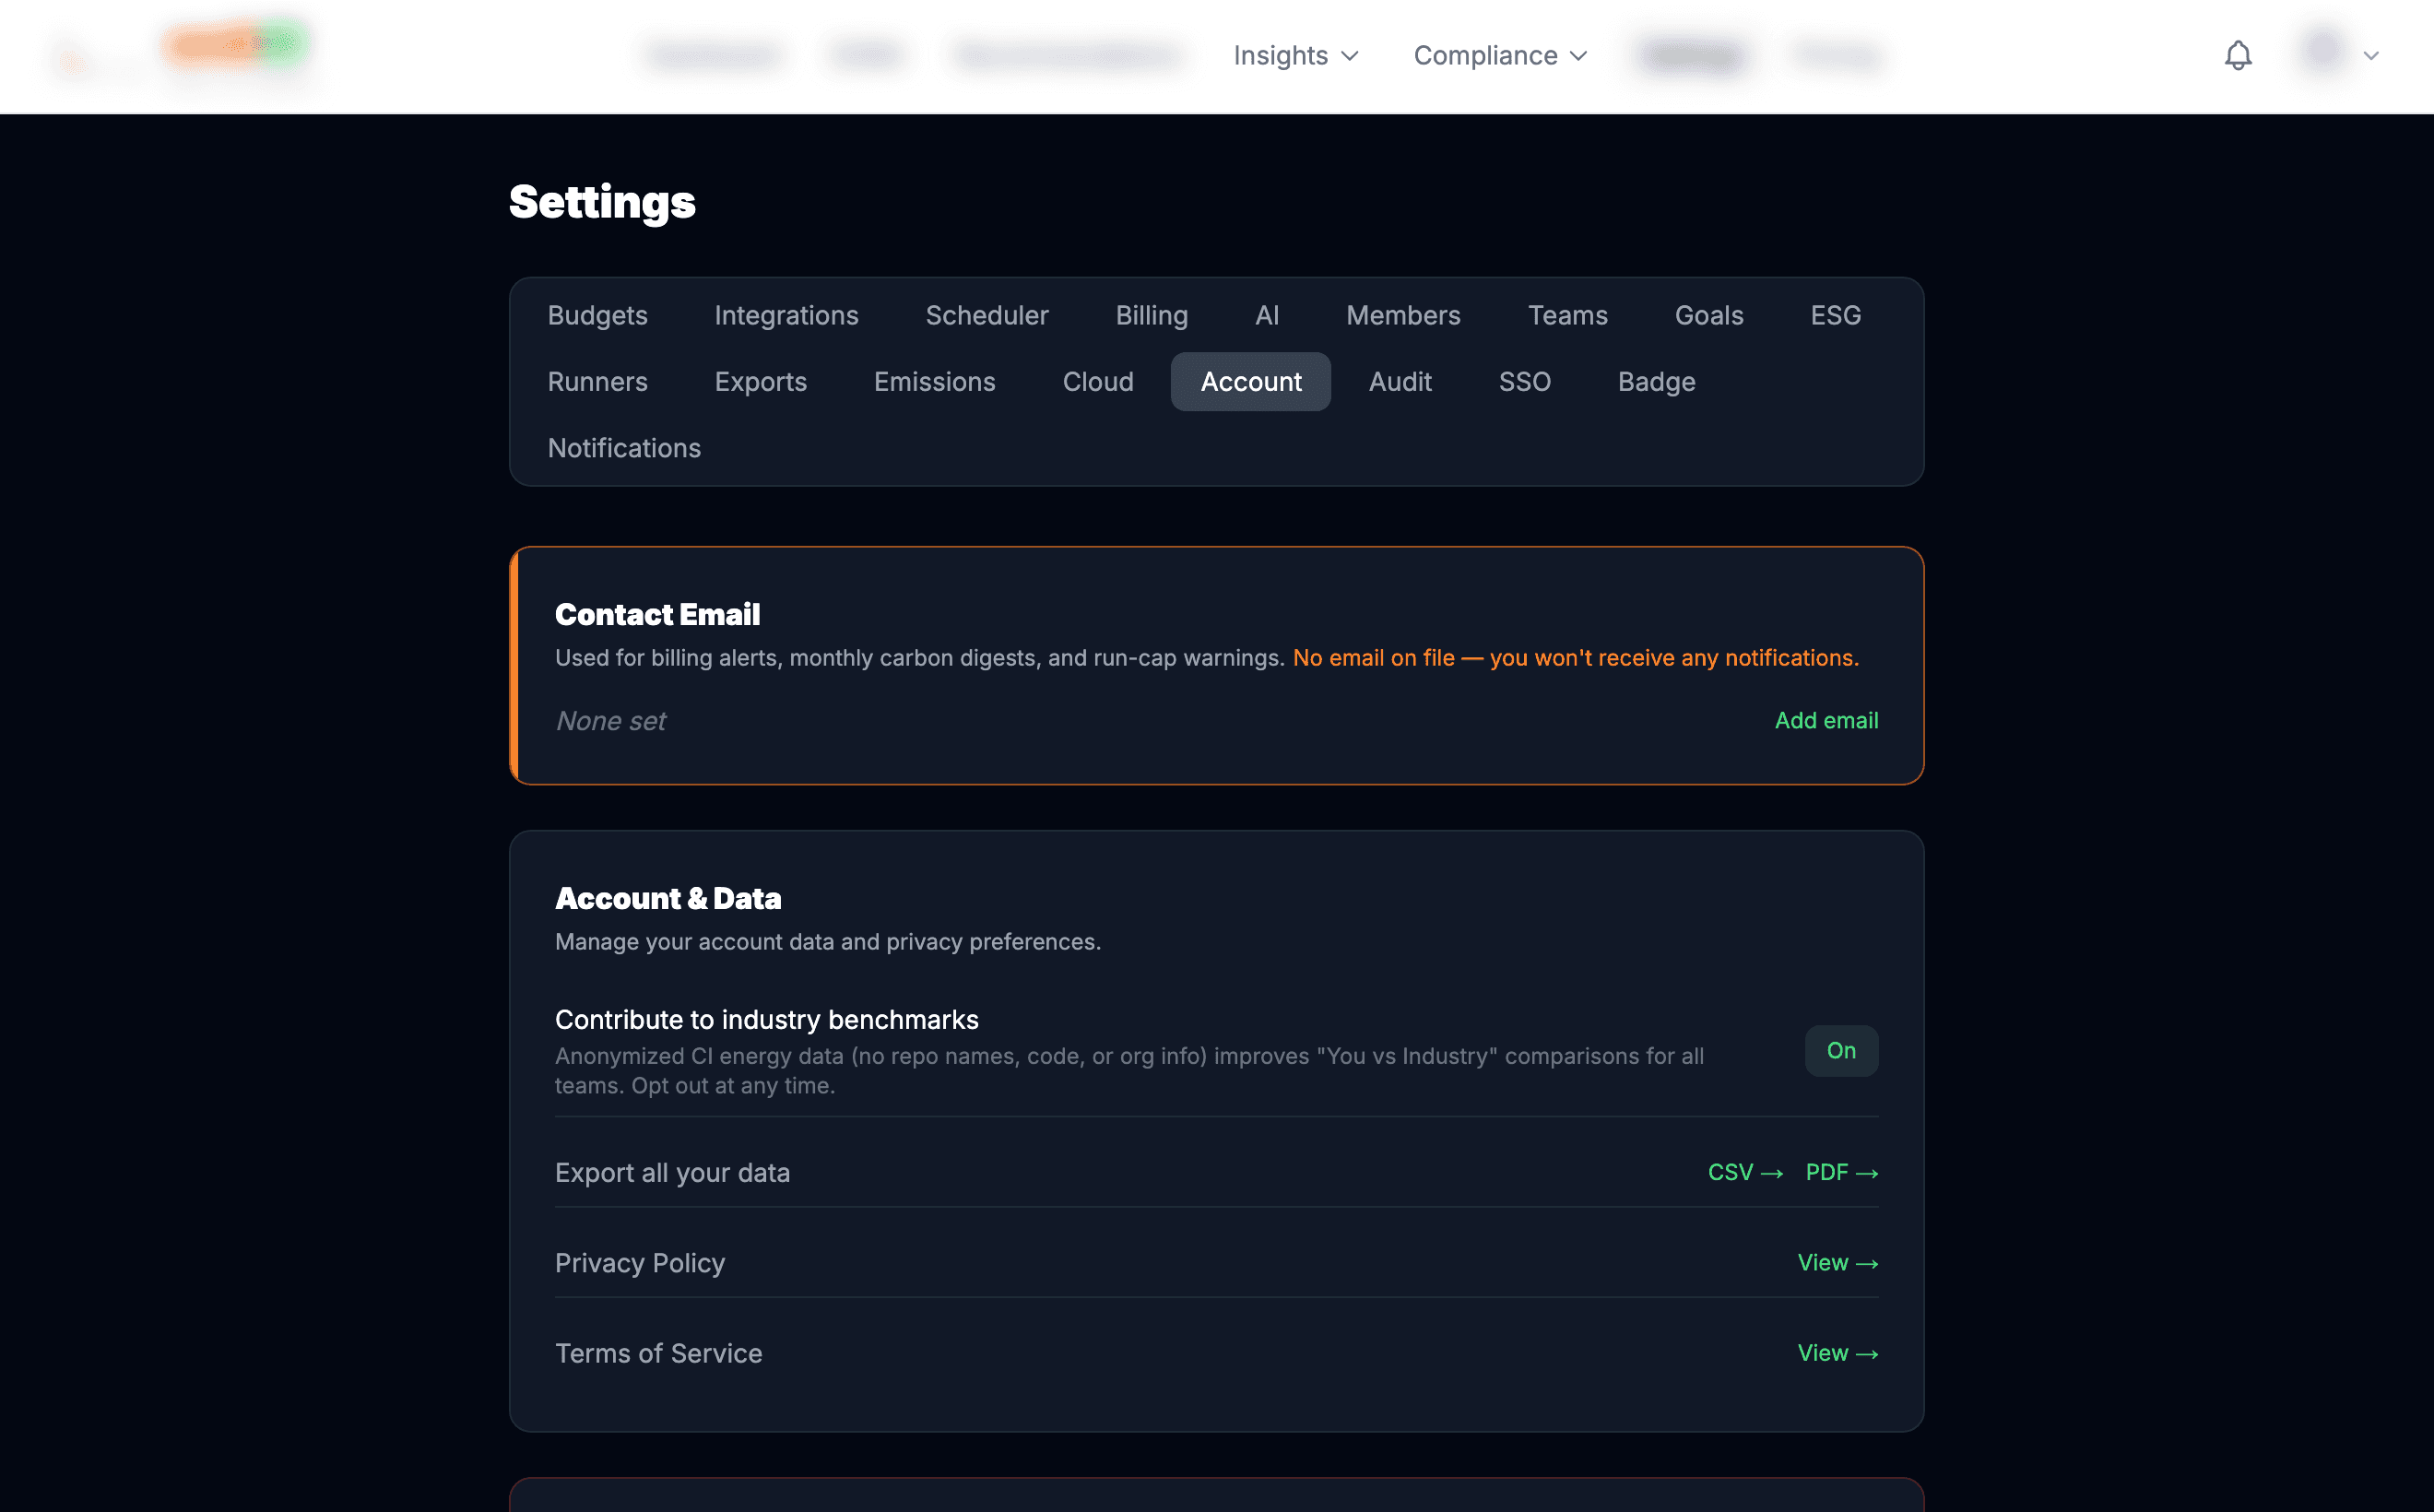
Add your email address
Without an email on file, EmitCI can't send you anomaly alerts, weekly digests, or trial reminders. Add one at:
Set a carbon budget
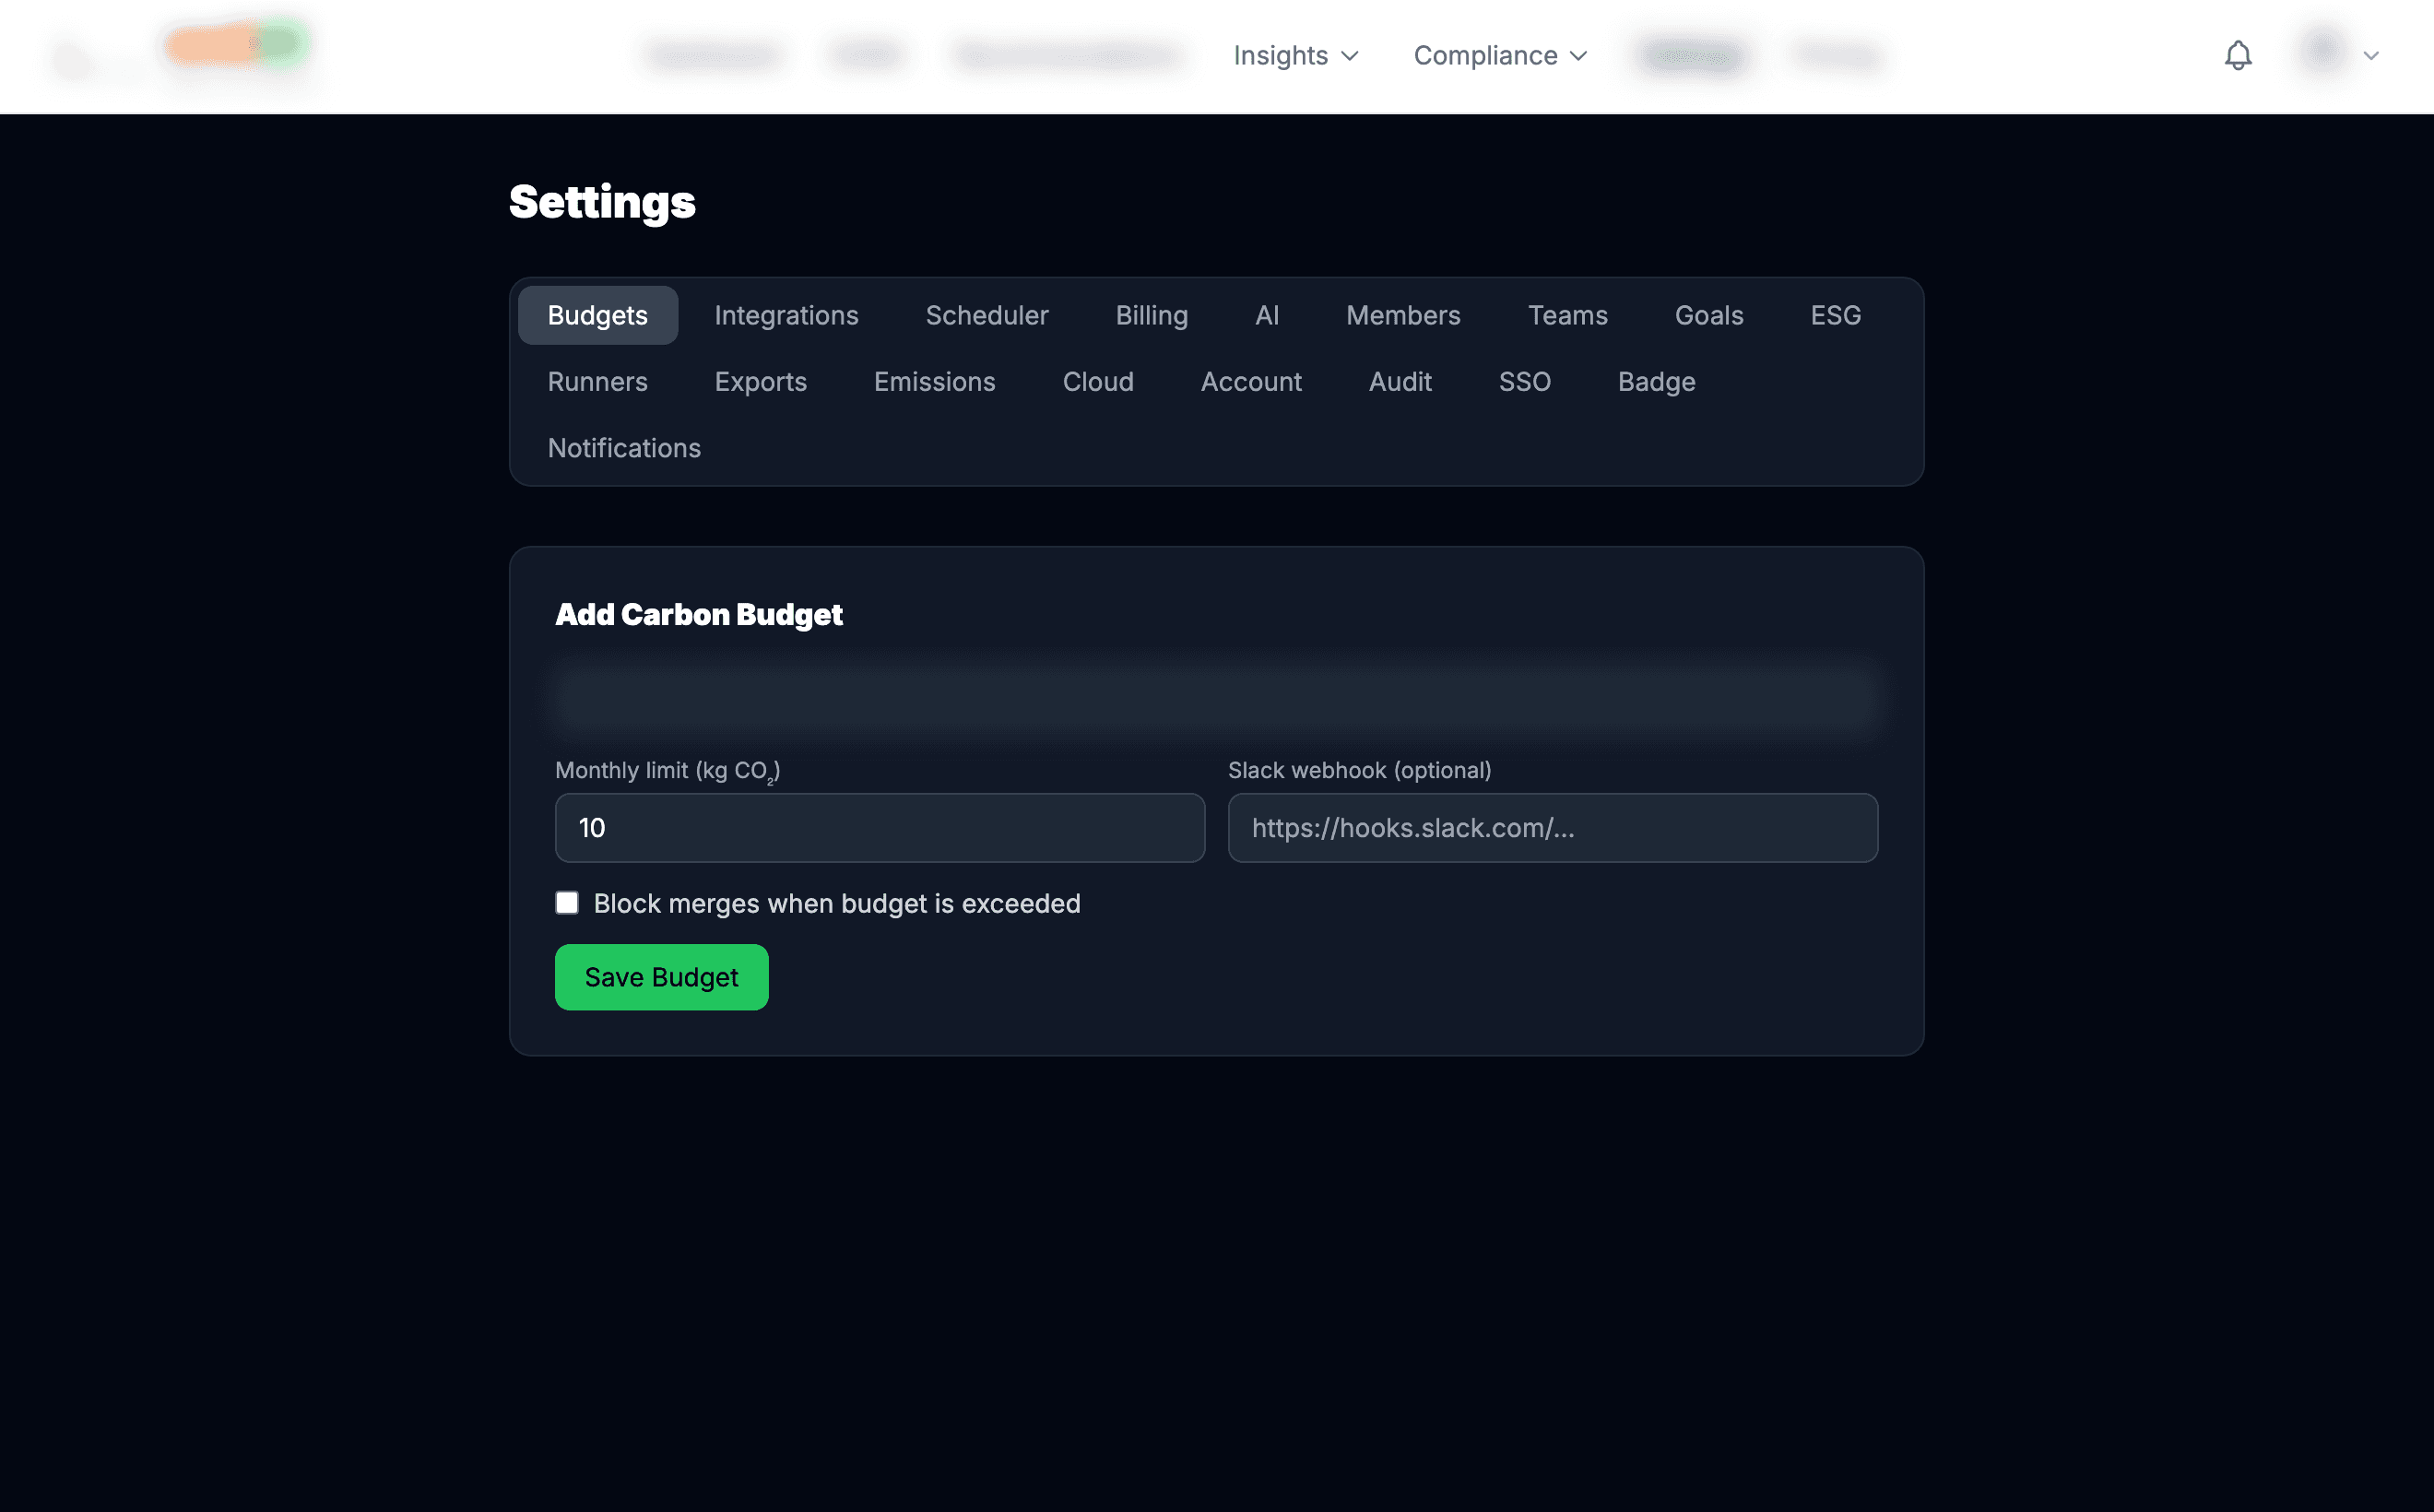
A carbon budget is a monthly CO₂ limit per repository. When a run pushes a repo over the threshold, EmitCI alerts you immediately. Start with your current 30-day total (shown on the dashboard under each repo) and reduce it by 10%.
Invite your team
Add engineers, managers, or auditors so they can view the dashboard and reports without needing to be the GitHub App installer.